Monday, September 7, 2015

Banana Pancakes

No boring breakfast here! Or dinner if that's your thing. Banana pancakes are awesome, versatile and allow for so much creativity, due to the variety of toppings, and add-ins available.


What do you need?

  • 2 bananas, mashed
  • 2 eggs
  • 1.5 cups of milk
  • 2 tbsp of sugar
  • 2 cups of flour
  • 1 tsp of baking soda
  • a pinch of salt
  • mixing bowl
  • mixing spoon (or fork)
  • batter scoop of some sort
  • frying pan
  • spatula


What should you do?


First, put your pan on the stove over medium-ish heat, or slightly on the lower end of medium. If you have a non-stick pan, no butter or sprays are needed. However, if you don't have a non-stick pan, make sure you use a spray or some melted butter to avoid sticking. Next, mash those bananas, in whatever way works best for you. You could use a spoon, or a potato masher, or even your hands. Personally, I prefer a fork. Then, mix in all of the wet ingredients, followed by the dry ingredients, and then any additional items you prefer (chocolate chips, peanut butter chips, other fruits, or whatever else you want). If you prefer a thicker batter, use a bit more flour. If you prefer it to be a bit thinner, add a touch more milk. You can add either ingredient in small amounts until you reach your desired consistency.


Once the batter is all mixed up (a bit of lumpiness is okay) start cooking the pancakes! Use whatever scooping device you prefer (I use a measuring spoon) and put however many pancakes fit in your pan and still cook evenly with room for a flip. Please, don't over flip them - one flip is all they need. Watch the batter. The edges should start to dry and bubbles will form on the surface. This is the perfect time to flip them. Then, let them cook on the other side for a few minutes. Remove from the pan, and repeat until they're all cooked.


Once they're cooked, let the fun begin! You can top these pancakes with so many different things. Sliced fruit, cream cheese, nutella, peanut butter, whipped cream, honey, classic syrup and butter, or whatever else you can imagine! If you really feel like being fancy, cook them up very thin, spread some toppings on them, then roll/fold them up like a crepe!


 Left: banana pancakes with cream cheese and sliced strawberries


Right: a half failed attempt at a strawberry rose for the strawberry and cream cheese pancakes.


Saturday, August 22, 2015

Nachos

When I buy ingredients for something, I end up with enough for several meals, since I'm just feeding myself. This was the case with the quesadilla toppings. So, I decided to do something different with them, and make some nachos instead, along with a pretty mediocre makeshift guacamole.

What do you need?

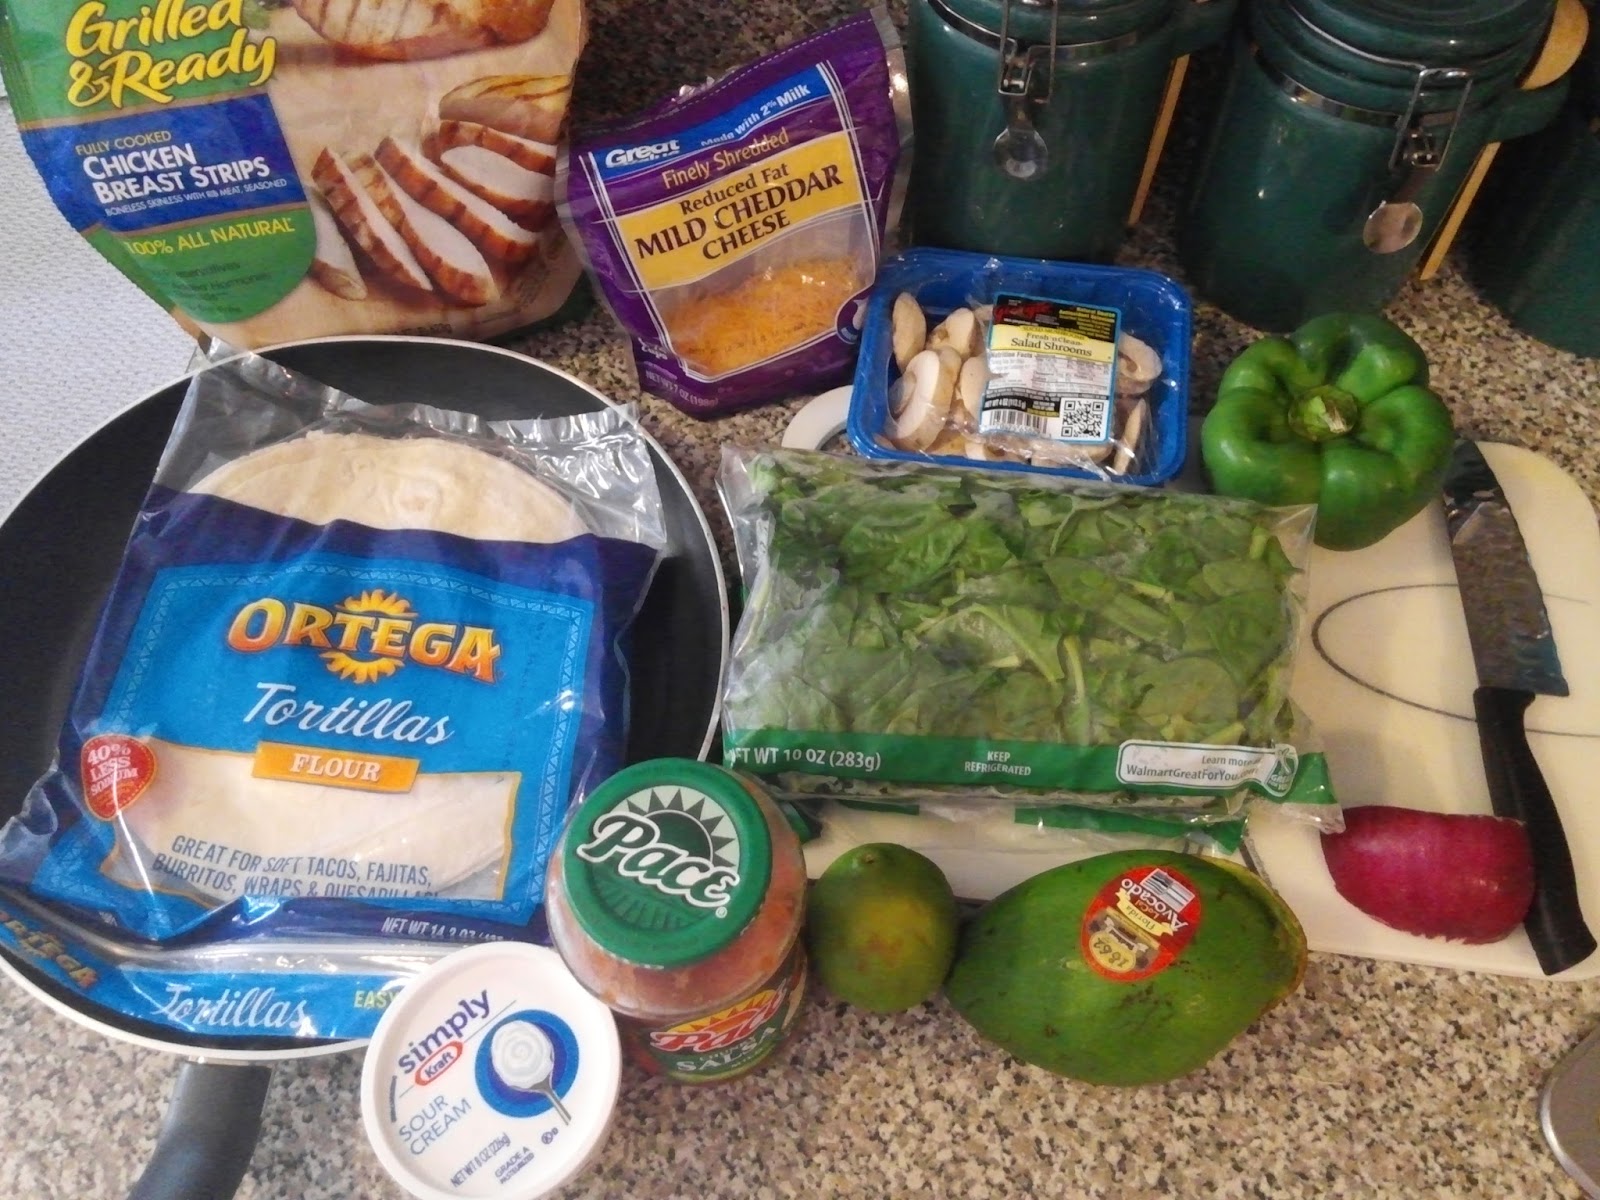
The ingredients here are the same as those for the quesadillas, but with a few additions, like an oven.

What should you do?

The first step will be to make some chips. You probably don't want to use soft tortilla pieces as nacho chips. So, chop up a tortilla or two, into triangles, or something resembling whatever chip shape you want. Lay them out on a baking sheet, and season them however you'd like. I used a bit of olive oil and salt. Then, pop them in the oven (375F for 5-7 minutes) until they're perfectly crispy!


Sometimes when you attempt to make triangles, you get diamonds and butterflies, but that's okay!


While the chips are in the oven, chop up whatever nacho toppings you prefer, and make some guacamole too, if you'd like. You may be wondering what I meant when I said I made a mediocre makeshift guac. Well, it's time to find out.


Ingredients:
Avocado
Drained chunks from salsa
Red onion
Fresh lime juice
Salt
Garlic powder

Chop, mash and mix everything together, and voila! I've made much better guac before, but in an unplanned pinch, this worked well enough.


Once your chips are done, assemble your nachos with whatever toppings you'd like. To ensure melty gooey cheese, I warmed the veggies and chicken on the stove first, then put everything together, popped the plate (on a baking sheet) in the oven for a few minutes to finish melting, then added the guac and sour cream on top.

Quesadillas!

Quesadillas are delicious. Recently, I've been making a bunch of different combinations of them. So, here you go!

What do you need?

  • tortilla shells
  • shredded cheese of choice
  • meat of choice
  • desired veggies
  • stuff for dipping!
  • knife
  • cutting board
  • large frying pan


What should you do?

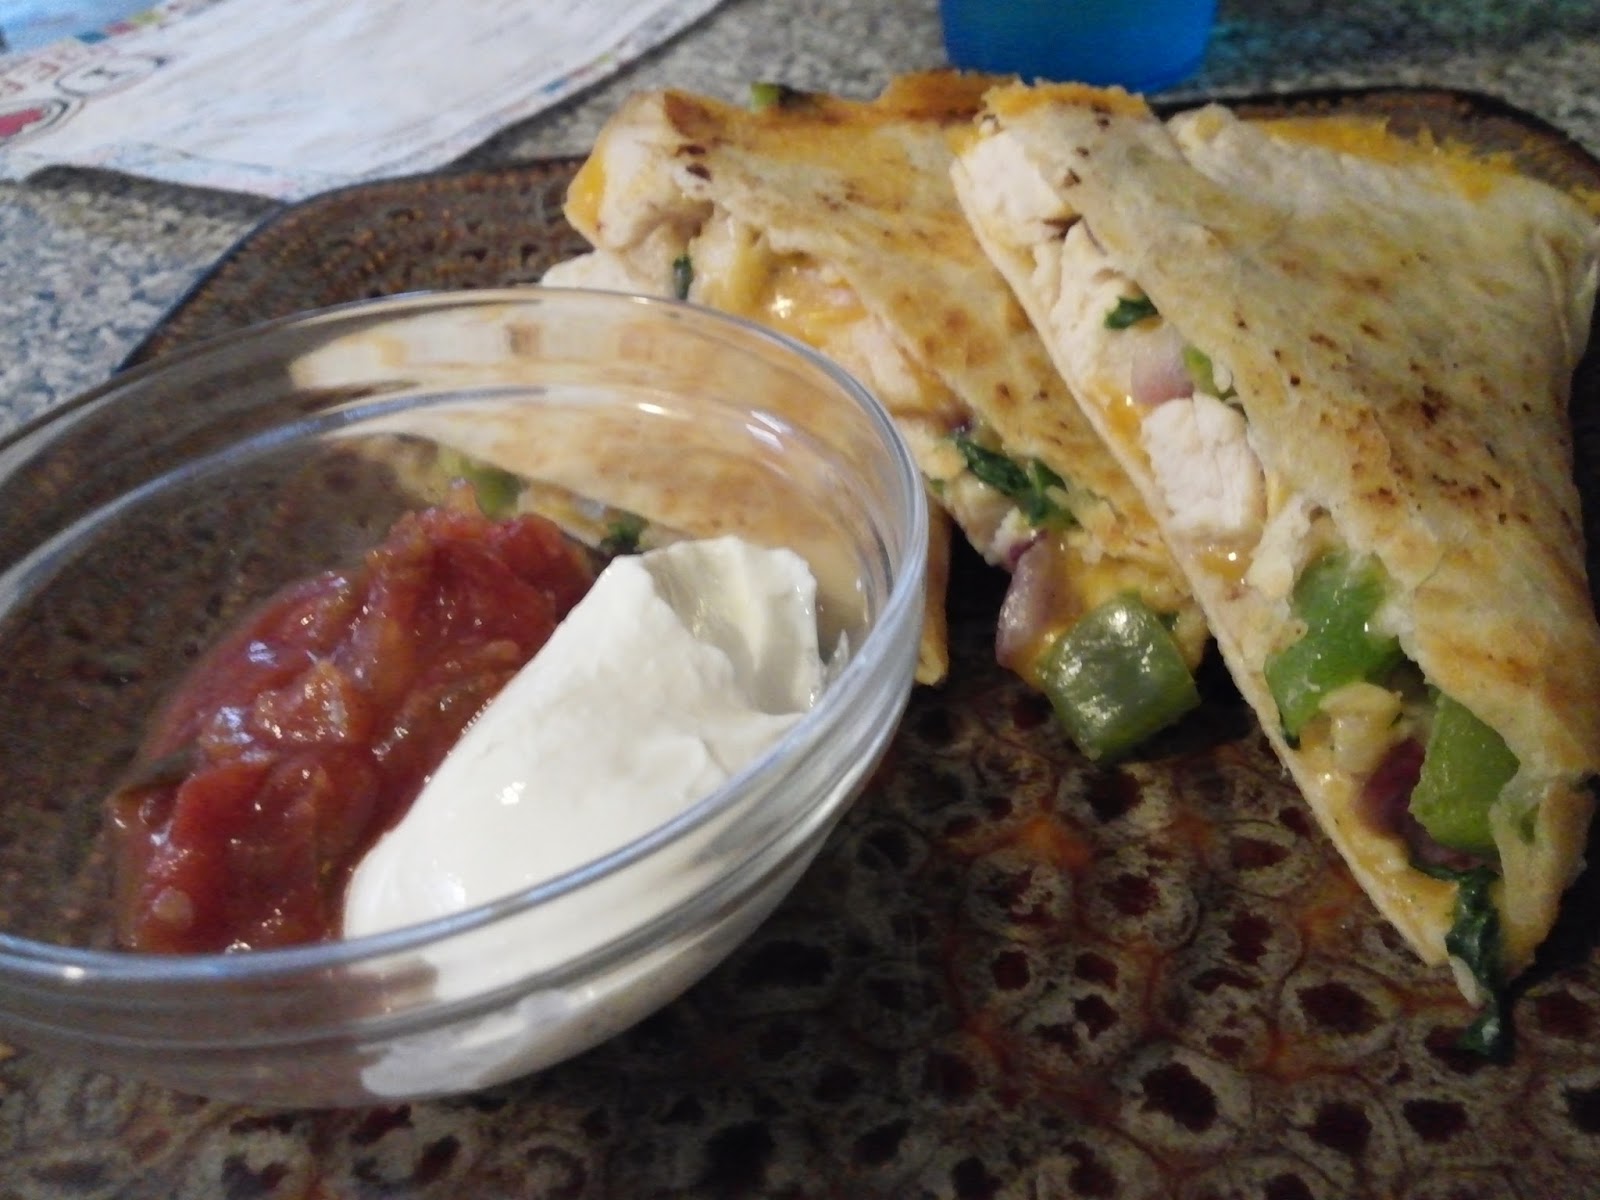
Quesadillas are super easy to make. Put the frying pan on the stove on a low-medium heat setting. One tortilla goes in the pan, with cheese on half of it. Chop up all of the desired contents, add that on top of the cheese half. Then, add more cheese on top of that, and fold over. If you want, you can use a lid of some sort to hold it down until everything gets warm and melty. Once it's melted, you can turn the heat up a bit to crisp the tortilla. Make sure to flip it (with a spatula) to get both sides crispy! Then, transfer to a cutting board, cut into thirds, and serve along with the dipping sauce of your choice!


What did I make?


Insides:
shredded cheddar cheese
chicken breast strips
red onion
green peppers

Dips:
salsa
sour cream


Insides:
shredded monterey & colby jack cheese 
chicken breast strips
avocado slices
red onion
green peppers

Dip:
sour cream, salsa, fresh lime juice, and salt all mixed together!


Insides:
shredded monterey & colby jack cheese
chicken breast strips
avocado slices
spinach
red onion

Dip:
sour cream, salsa, fresh lime juice, and salt all mixed together!


Insides:
shredded cheddar cheese
spinach
green bell pepper
red onion


Dip:
sour cream, salsa, fresh lime juice, and salt all mixed together!

No Bake Chocolate Oatmeal Cookies

Are you looking for quick, easy, delicious cookies to make without using your oven? Look no further! These cookies take about ten minutes to make (not including set time), they taste great, need no special ingredients, and won't add extra heat to your house which is great during summer months.

While most recipes for these cookies found online are for full batches, I find that making a half batch improves the overall consistency of these tasty treats, so this recipe is the half batch that I use.

What do you need?                                                          

  • 1/4 cup of milk
  • 1/2 stick of butter
  • 1 cup of sugar
  • 1.5 tbsp cocoa powder
  • 1 tsp vanilla
  • 1 generous cup of oatmeal
  • 1/4 cup of peanut butter
  • parchment paper
  • 1 medium sauce pan
  • 1 mixing spoon
  • 1 metal spoon
  • measuring spoons
  • 1 mixing bowl 
  • a timer 

What should you do?

Melt the butter in the sauce pan with the milk, on low-medium heat. While this is melting, you can prepare your other ingredients, and make sure the parchment paper is laid out and ready for the cookies.

I prefer to use the mixing bowl to hold the oats until you need them. They're already measured out that way, and ready to go. The metal spoon used to scoop out the peanut butter - make sure you hang on to that. You'll need it later.

Once the butter is thoroughly melted and mixed with the milk, add in the sugar, vanilla, and cocoa powder.


Mix well, then turn up the heat to medium-high to let the mix boil.

This is where the timer becomes important. Once it starts to boil, you need to start the timer, and only let the mix boil for one minute. If you don't boil it long enough, your cookies won't set up, and they will stay runny. If you over boil it, the cookies will get dry and crumbly.

While neither of these things are wrong for home eating, having runny or crumbly cookies at a gathering may not be very appealing.


Immediately after the one minute of boiling ends, remove the pan from the heat and add in the oatmeal and peanut butter, mixing thoroughly.

Once everything is mixed and the peanut butter melts smoothly, place spoonfuls of the mix onto the parchment paper to set up. If you boiled properly, the mixture should begin to thicken by the time you're done spooning it onto the parchment paper. Within 15-20 minutes, they should be firm enough to pick up (though they will still be warm). However if you want to wait to enjoy the cookies until they're cooled, you can always lick the spoon! Make sure it's cooled down first though.